
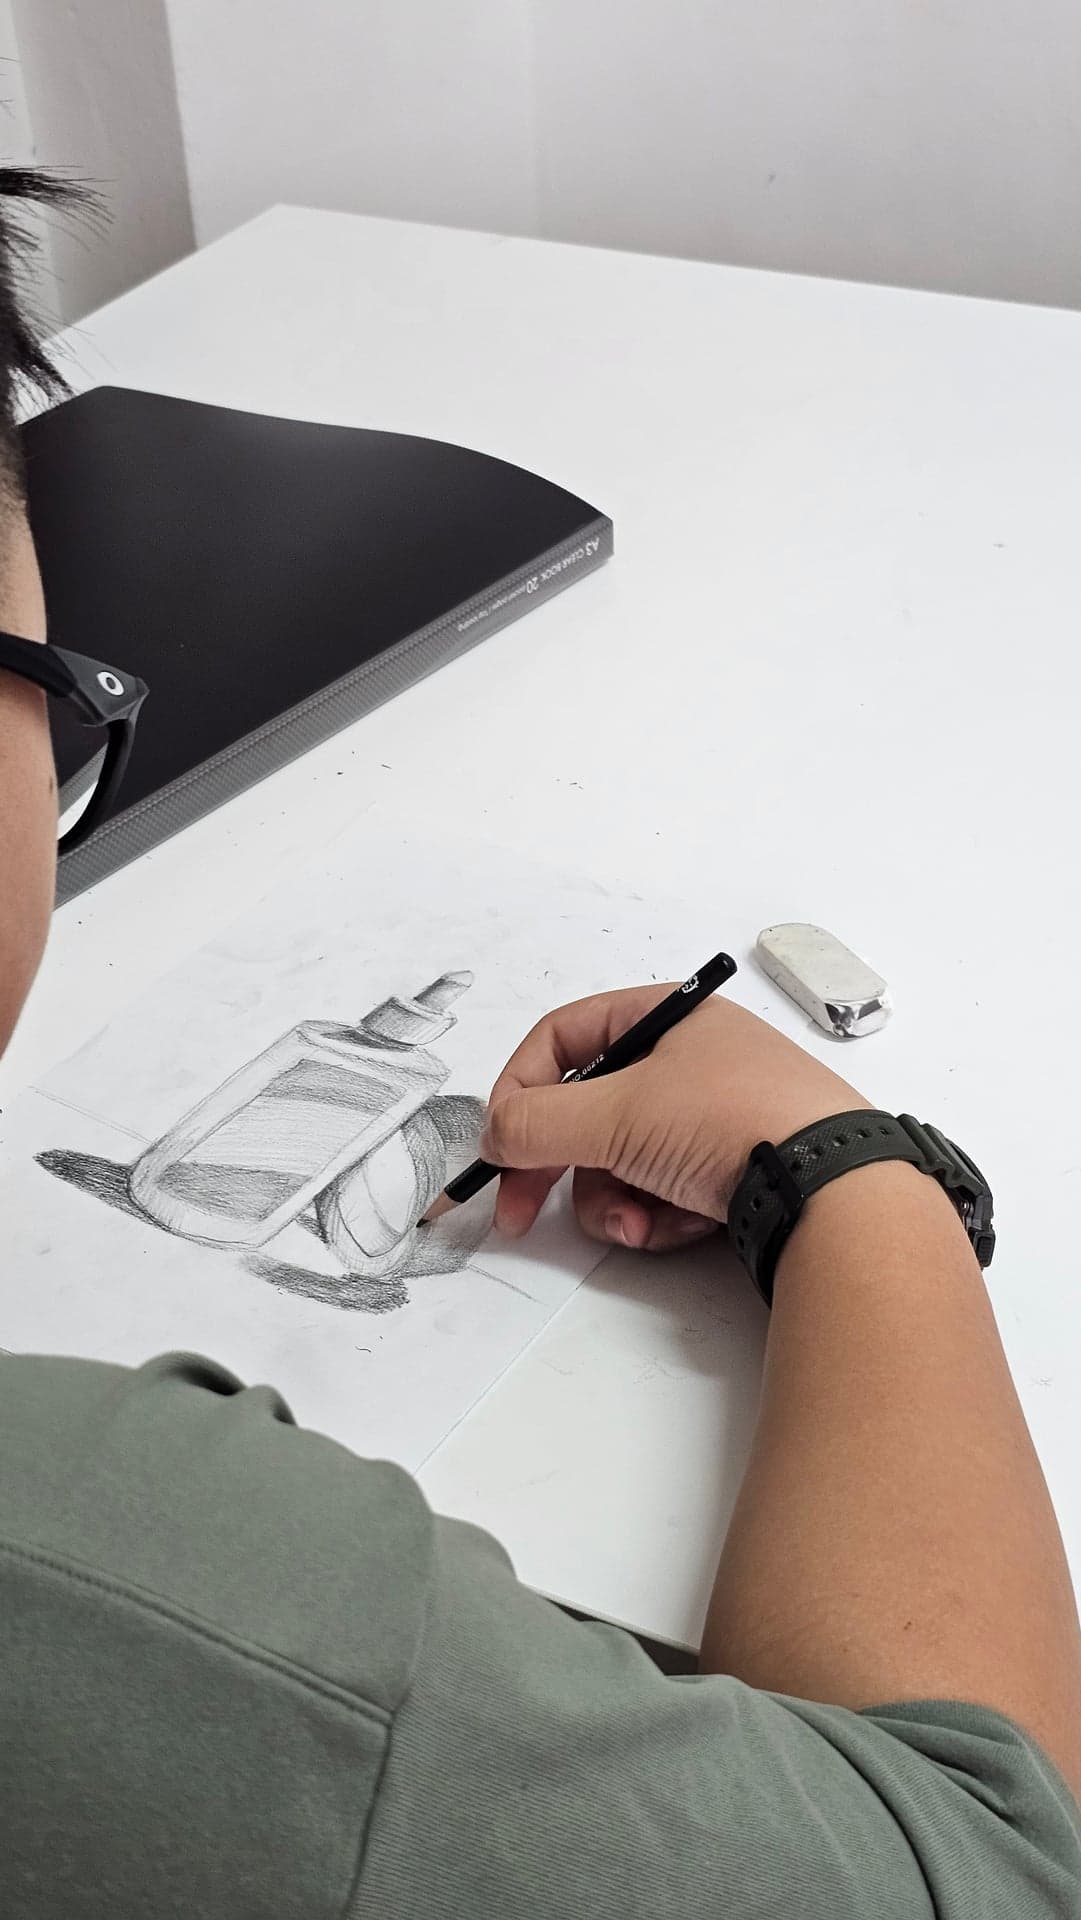
To draw a still life, arrange a few objects with a clear composition under a single light source, then work from the big shapes to the values to the details — blocking in the largest proportions first, checking them by measuring, and saving edges and small details for last. Working big-to-small keeps the whole drawing in proportion instead of one finished corner floating on a blank page. Art by Ancourage teaches this observational method to beginners and portfolio students at Bishan and Woodlands.
This guide covers what a still life is, how to set one up, the order to draw in, how to measure, and why it is the single best subject for training observation. It builds on the core skills in our art techniques and fundamentals guide and pairs with our guides to shading and value and composition in art.
When we set up a still life for beginners, the breakthrough almost always comes from the same shift — students stop drawing the cup they remember and start drawing the actual ellipse in front of them. Once they measure rather than guess, proportions click into place and the whole drawing reads as real.
What Is a Still Life?
A still life is a drawing or painting of inanimate objects — fruit, bottles, vessels, drapery and everyday things arranged on a surface — and it is the classic training subject because the artist fully controls the arrangement, the lighting and the time. Unlike a portrait or a landscape, the objects do not move, the light does not change, and you can return to the exact same setup tomorrow.
That total control is what makes still life ideal for learning. You decide what to draw, how to light it, and how long to look — so every difficulty in the drawing comes from your observation, not from a restless model or shifting daylight. The genre has a long pedigree: it flourished in the Dutch Golden Age of the 1600s and was later reinvented by Paul Cézanne, who built form from planes of colour rather than smooth shading. For the vocabulary used throughout this guide, see the Tate art terms glossary.
How Do You Set Up a Still Life?
Set up a still life by choosing objects with varied shapes, sizes and textures, arranging them into a clear composition with overlap and varied heights, then lighting them with a single light source from one side so the shadows and form read clearly. A strong setup does half the work before you draw a single line.
- Choose contrasting objects: mix a tall bottle, a round fruit and a folded cloth so you get different shapes, surfaces and reflectivity to practise on.
- Compose with overlap and odd numbers: overlap objects so they sit in space, vary their heights, and use an odd number (three or five) with one clear focal point.
- Apply the rule of thirds: place the most important object off-centre rather than dead-centre — our composition guide explains why.
- Light from one side: a single lamp from one side, placed slightly above the objects at roughly 45°, gives a clean light side, a shadow side and a cast shadow, which is what lets you read three-dimensional form.
Avoid lighting the setup flatly from the front or from two sides at once — competing light sources flatten the form and confuse the value pattern, which is the very thing a still life is meant to train.
What Order Should You Draw In?
Draw a still life from big to small: plan with thumbnails, block in the largest shapes and proportions lightly, measure to check them, establish the big light-and-shadow pattern, then refine edges and details last — checking relationships throughout rather than finishing one object at a time. This sequence is the heart of observational drawing.
| Step | What to do |
|---|---|
| 1. Thumbnail | Make small, quick sketches — around 5–8 cm wide — to plan the composition and the overall value pattern before committing to the page |
| 2. Block in | Lightly lay in the largest shapes and overall proportions with a hard pencil such as 2H or HB, saving soft 2B–6B grades for the darkest shadows later; check angles, relative sizes and the negative space around objects |
| 3. Measure | Use sight-size or a pencil held at arm length to compare proportions and check that verticals are truly vertical |
| 4. Big values | Establish the large light-and-shadow pattern across the whole drawing before any small detail — this is where shading begins |
| 5. Refine | Develop the forms, decide hard versus soft edges, and add the small details that sit on top of the structure |
| 6. Check relationships | Keep comparing objects to each other rather than finishing one object fully and moving on |
Give the drawing room: an A3 sheet (297 × 420 mm) lets a three-object setup sit at a readable size, while A4 (210 × 297 mm) suits quicker studies. The most common beginner mistake is jumping straight to detail — rendering every highlight on one apple while the rest of the page is blank. By the time the second object goes in, it no longer fits. Blocking in everything lightly first, then developing the whole drawing together, prevents this entirely.
How Do You Measure a Still Life?
Measure a still life by holding your pencil at arm length to compare one length against another — using one object as a unit and asking how many times it fits into another — and by checking angles and verticals against the straight edge of the pencil. Measuring replaces guessing, which is where most proportion errors come from.
- Pick a unit: choose one clear length in the setup (say, the height of the bottle) as your measuring unit.
- Compare with the pencil: hold the pencil at arm length, lock your elbow, and mark off how many units tall and wide each object and gap is.
- Check angles: tilt the pencil to match the slope of an edge, then carry that exact angle onto the page.
- Use negative space: draw the shapes of the gaps between objects — these are often easier to see accurately than the objects themselves.
This is also where the single most important principle applies: draw what you actually see, not the symbol you know. A cup seen from above is not a circle — it is an ellipse, and how flat or round that ellipse looks depends entirely on your eye level. Drawing the real ellipse, measured and observed, is what separates a convincing still life from a flat diagram.
Why Is Still Life the Best Practice Subject?
Still life is the best practice subject because it trains the three core skills of drawing — observation, measurement and seeing negative space — under conditions you fully control, with no time pressure and no moving subject. Every other genre becomes easier once these skills are solid.
Because you set the lighting, the still life teaches value and form directly, which is why we pair it with our shading and value guide. Because you set the arrangement, it teaches composition. And because you can look as long as you like, it builds the patient, comparative seeing that portraits, figures and landscapes all depend on. It is also the most accessible subject to start with — anything on a kitchen table will do, which is exactly why it anchors our beginners drawing guide.
How Do You Avoid Common Still Life Mistakes?
Avoid the usual still-life mistakes by blocking in the whole drawing before any detail, measuring instead of guessing proportions, lighting with one source, and judging each object against its neighbours rather than in isolation. Most weak still lifes fail on structure, not on rendering skill.
- Finishing one object at a time: develop the whole page together so proportions and values stay consistent.
- Drawing symbols, not observations: a real ellipse, a real cast shadow — not the cartoon version stored in memory.
- Ignoring negative space: the gaps are part of the drawing and often the easiest accuracy check.
- Even, mid-grey shading everywhere: commit to a clear light side and shadow side; learning to judge that pattern is also what our guide to analysing and critiquing artwork sharpens.
How Does Art by Ancourage Teach Still Life?
Art by Ancourage teaches still life as the foundation of observational drawing, so students learn to measure, see negative space and build form before moving on to more demanding subjects. Beginners start with simple setups and graduate to complex arrangements and media as their seeing improves.
Students develop this in small-group Professional Fine Art Classes and carry it into colour and form through oil painting lessons, where the same big-to-small discipline applies. Book a trial class (from $18) at Bishan or Woodlands to start drawing from observation.
Frequently Asked Questions
Quick answers about drawing a still life.
What objects make a good still life for beginners?
Choose three to five everyday objects with contrasting shapes, sizes and surfaces — for example a tall bottle, a round piece of fruit and a folded cloth. The variety gives you different forms, textures and reflective qualities to practise on. Keep the first setups simple, with clear shapes and a single light source, and add complexity only as your observation and measuring improve.
What order should I draw a still life in?
Work from big to small. Start with thumbnail sketches to plan the composition, then block in the largest shapes and proportions lightly. Measure to check them, establish the big light-and-shadow pattern across the whole drawing, and only then refine edges and details. Throughout, compare objects to each other rather than finishing one object completely before starting the next.
How do I get the proportions right?
Measure instead of guessing. Hold your pencil at arm length with your elbow locked, pick one length as a unit, and check how many times it fits into other lengths and gaps. Tilt the pencil to capture angles, and draw the negative spaces between objects as a cross-check. Measuring this way is the single most reliable cure for proportion errors.
Why does my cup look flat or wonky?
Usually because you drew the symbol you know rather than what you see. The top of a cup is an ellipse, not a circle, and it looks flatter or rounder depending on your eye level. Observe the actual ellipse, measure its width against its height, and make sure both ends curve — a wonky cup is almost always a half-observed, half-remembered one.
Why is still life so good for learning to draw?
Because you control everything — the objects, the lighting and the time. Nothing moves, so all the difficulty comes from your observation rather than a restless subject. That makes still life the ideal training ground for measurement, negative space and value, which are the core skills every other subject relies on. It is also the most accessible: anything on a table can become a study.